

What Is Dog CPR and When Should You Use It?
Dog CPR (cardiopulmonary resuscitation) is a lifesaving technique used when a dog has stopped breathing or has no heartbeat. It combines chest compressions and rescue breaths to manually circulate blood and oxygen. You should consider CPR if your dog is unconscious, not breathing, or has no detectable pulse. However, always check for signs of life before starting. This technique is not for routine use but for emergencies such as near-drowning, smoke inhalation, cardiac arrest, or severe shock. Recognizing when CPR is appropriate is crucial because performing it on a healthy dog can cause harm. Stay calm and act decisively. In this guide, we'll walk you through every step of dog CPR so you can respond confidently.
How to Check if Your Dog Needs CPR?
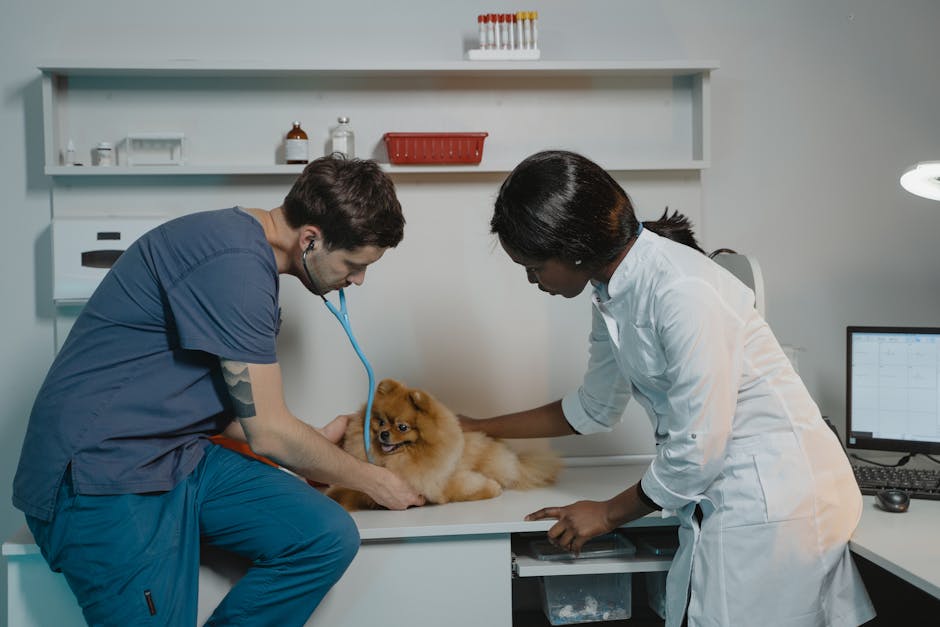
Before beginning CPR, assess your dog quickly. First, call their name and gently tap them. If no response, check for breathing by looking at chest movement or feeling for air on your cheek. Next, check for a heartbeat: place two fingers on the inside of the thigh near the body (femoral artery) or behind the elbow. If no pulse or breathing in 10 seconds, start CPR immediately. Remember the ABCs: Airway, Breathing, Circulation. Time is critical—every second counts. If you are alone, perform CPR for 2 minutes before calling for help. If someone is with you, have them call the veterinarian while you start compressions.
Step 1: How to Ensure Safety and Check Responsiveness?
First, ensure the scene is safe for you and your dog. If the dog is in a dangerous area (e.g., near traffic or water), move them carefully, keeping your safety in mind. Then, check responsiveness as described above. Call for help or have someone else call a veterinarian while you prepare. Gently lay the dog on their side and quickly check for any obvious signs of injury. If the dog has a collar, remove it if it might restrict breathing. Stay calm and focus on the steps ahead.
Step 2: How to Position Your Dog for CPR?
Position your dog on their right side on a firm surface. For most dog sizes, this is the best position to access the heart. Gently straighten the head and neck to open the airway. Pull the tongue forward to ensure it is not blocking the throat. For deep-chested breeds (like Boxers), the heart is lower on the chest; for barrel-chested breeds (like Bulldogs), it is more central. Adjust your hand placement accordingly. A proper position ensures effective compressions and breaths. If the dog is large, you may need to kneel beside them for better leverage.
Step 3: How to Perform Chest Compressions on Your Dog?
Place your hands on the widest part of the chest over the heart. For small dogs (under 30 lbs), use your thumb and fingers on opposite sides of the chest. For medium dogs (30-60 lbs), use one hand over the heart area. For large dogs (over 60 lbs), use two hands stacked with straight arms. Compress the chest to about one-third to one-half its width. Perform 100–120 compressions per minute. For one rescuer, follow a 30:2 ratio (30 compressions then 2 breaths). Use a timer or a song like "Stayin' Alive" to maintain rhythm. Allow full chest recoil between compressions.
- Small dogs: Thumb and fingers on opposite sides, compress 1-2 inches.
- Medium dogs: One hand, palm over heart, compress 2-3 inches.
- Large dogs: Two hands stacked, compress 3-4 inches.
Step 4: How to Give Rescue Breaths to Your Dog?
After compressions, give rescue breaths. Gently close the dog's mouth and extend the neck. Place your mouth over the dog's nose (not mouth) and blow gently until you see the chest rise. For small dogs, you might cover both nose and mouth. Give two breaths, each lasting about 1 second. Allow the chest to fall between breaths. Additionally, if the dog has a tracheostomy or is very small, adjust accordingly. Never blow too hard to avoid lung damage. If the chest does not rise, check for airway obstructions and reposition the head.
Step 5: How to Continue CPR and Monitor Response?
Continue cycles of 30 compressions and 2 breaths. Every 2 minutes, stop briefly to check for breathing or pulse. If you have another person, they can switch roles every 2 minutes to avoid fatigue. Monitor for signs of life: breathing, movement, or a heartbeat. Continue until the dog starts breathing on its own or professional help arrives. If no response after 20 minutes, it may be time to stop, but continue if transportation to a vet is possible. Remember, your effort gives your dog a chance.
When Should You Stop CPR on a Dog?
Stop CPR if the dog shows signs of life (breathing, movement, pulse). Also stop if you are too exhausted to continue, or after 20 minutes of CPR with no response. However, continue if you can get to a veterinarian quickly. Never restart once the dog has a pulse. If you are alone, you may need to balance CPR with transport. The goal is to keep oxygen flowing until professional care is available. Always follow up with a vet even if the dog revives.
What Are Common Mistakes to Avoid in Dog CPR?
Common errors include compressing too slowly or too fast, not allowing full chest recoil, giving breaths with a blocked airway, and stopping too early. Furthermore, avoid pressing on the ribs rather than the heart area. Practice on a pet CPR dummy to build confidence. Another mistake is forgetting to check for a pulse before starting. Additionally, many people bend the neck too much when giving breaths, which obstructs the airway. Stay mindful of these pitfalls to increase your dog's chances of survival.
Conclusion: How Can You Be Prepared for Dog Emergencies?
Knowing how to perform dog CPR is a valuable skill for any pet owner. Take a pet first aid course, keep an emergency kit with a muzzle, gauze, and a blanket, and have your veterinarian's number handy. Practice these steps on a dummy so they become second nature. Remember: time is critical. Stay calm, follow these steps, and give your dog the best chance of survival. Preparedness can make all the difference in an emergency.